Product Guides
Payment Buttons
Payment Buttons allow you to seamlessly and securely accept payments on your website with a small snippet of HTML code. When the Payment Button is clicked, the customer is presented with a payment form overlay, where they can securely enter their payment details.
For example:
<script src="https://cdn.pinpayments.com/pin.v2.js"></script>
<a class="pin-payment-button" href="https://pay.pinpayments.com/qkbo/test"><img src="https://pinpayments.com/pay-button.png" alt="Pay Now" width="86" height="38"></a>
Hint: Use the card number 4200 0000 0000 0000, or any of the test card numbers.
In this guide
- Your Payment Button code
- Preset and custom fields
- Customising the appearance
- Configuring surcharging
- Configuring Apple Pay
- Test mode
Your Payment Button code
Your Payment Button code can be copied from your Pin Payments dashboard. Log in to your Pin Payments dashboard, click Account, and select Payment Button in the sidebar.
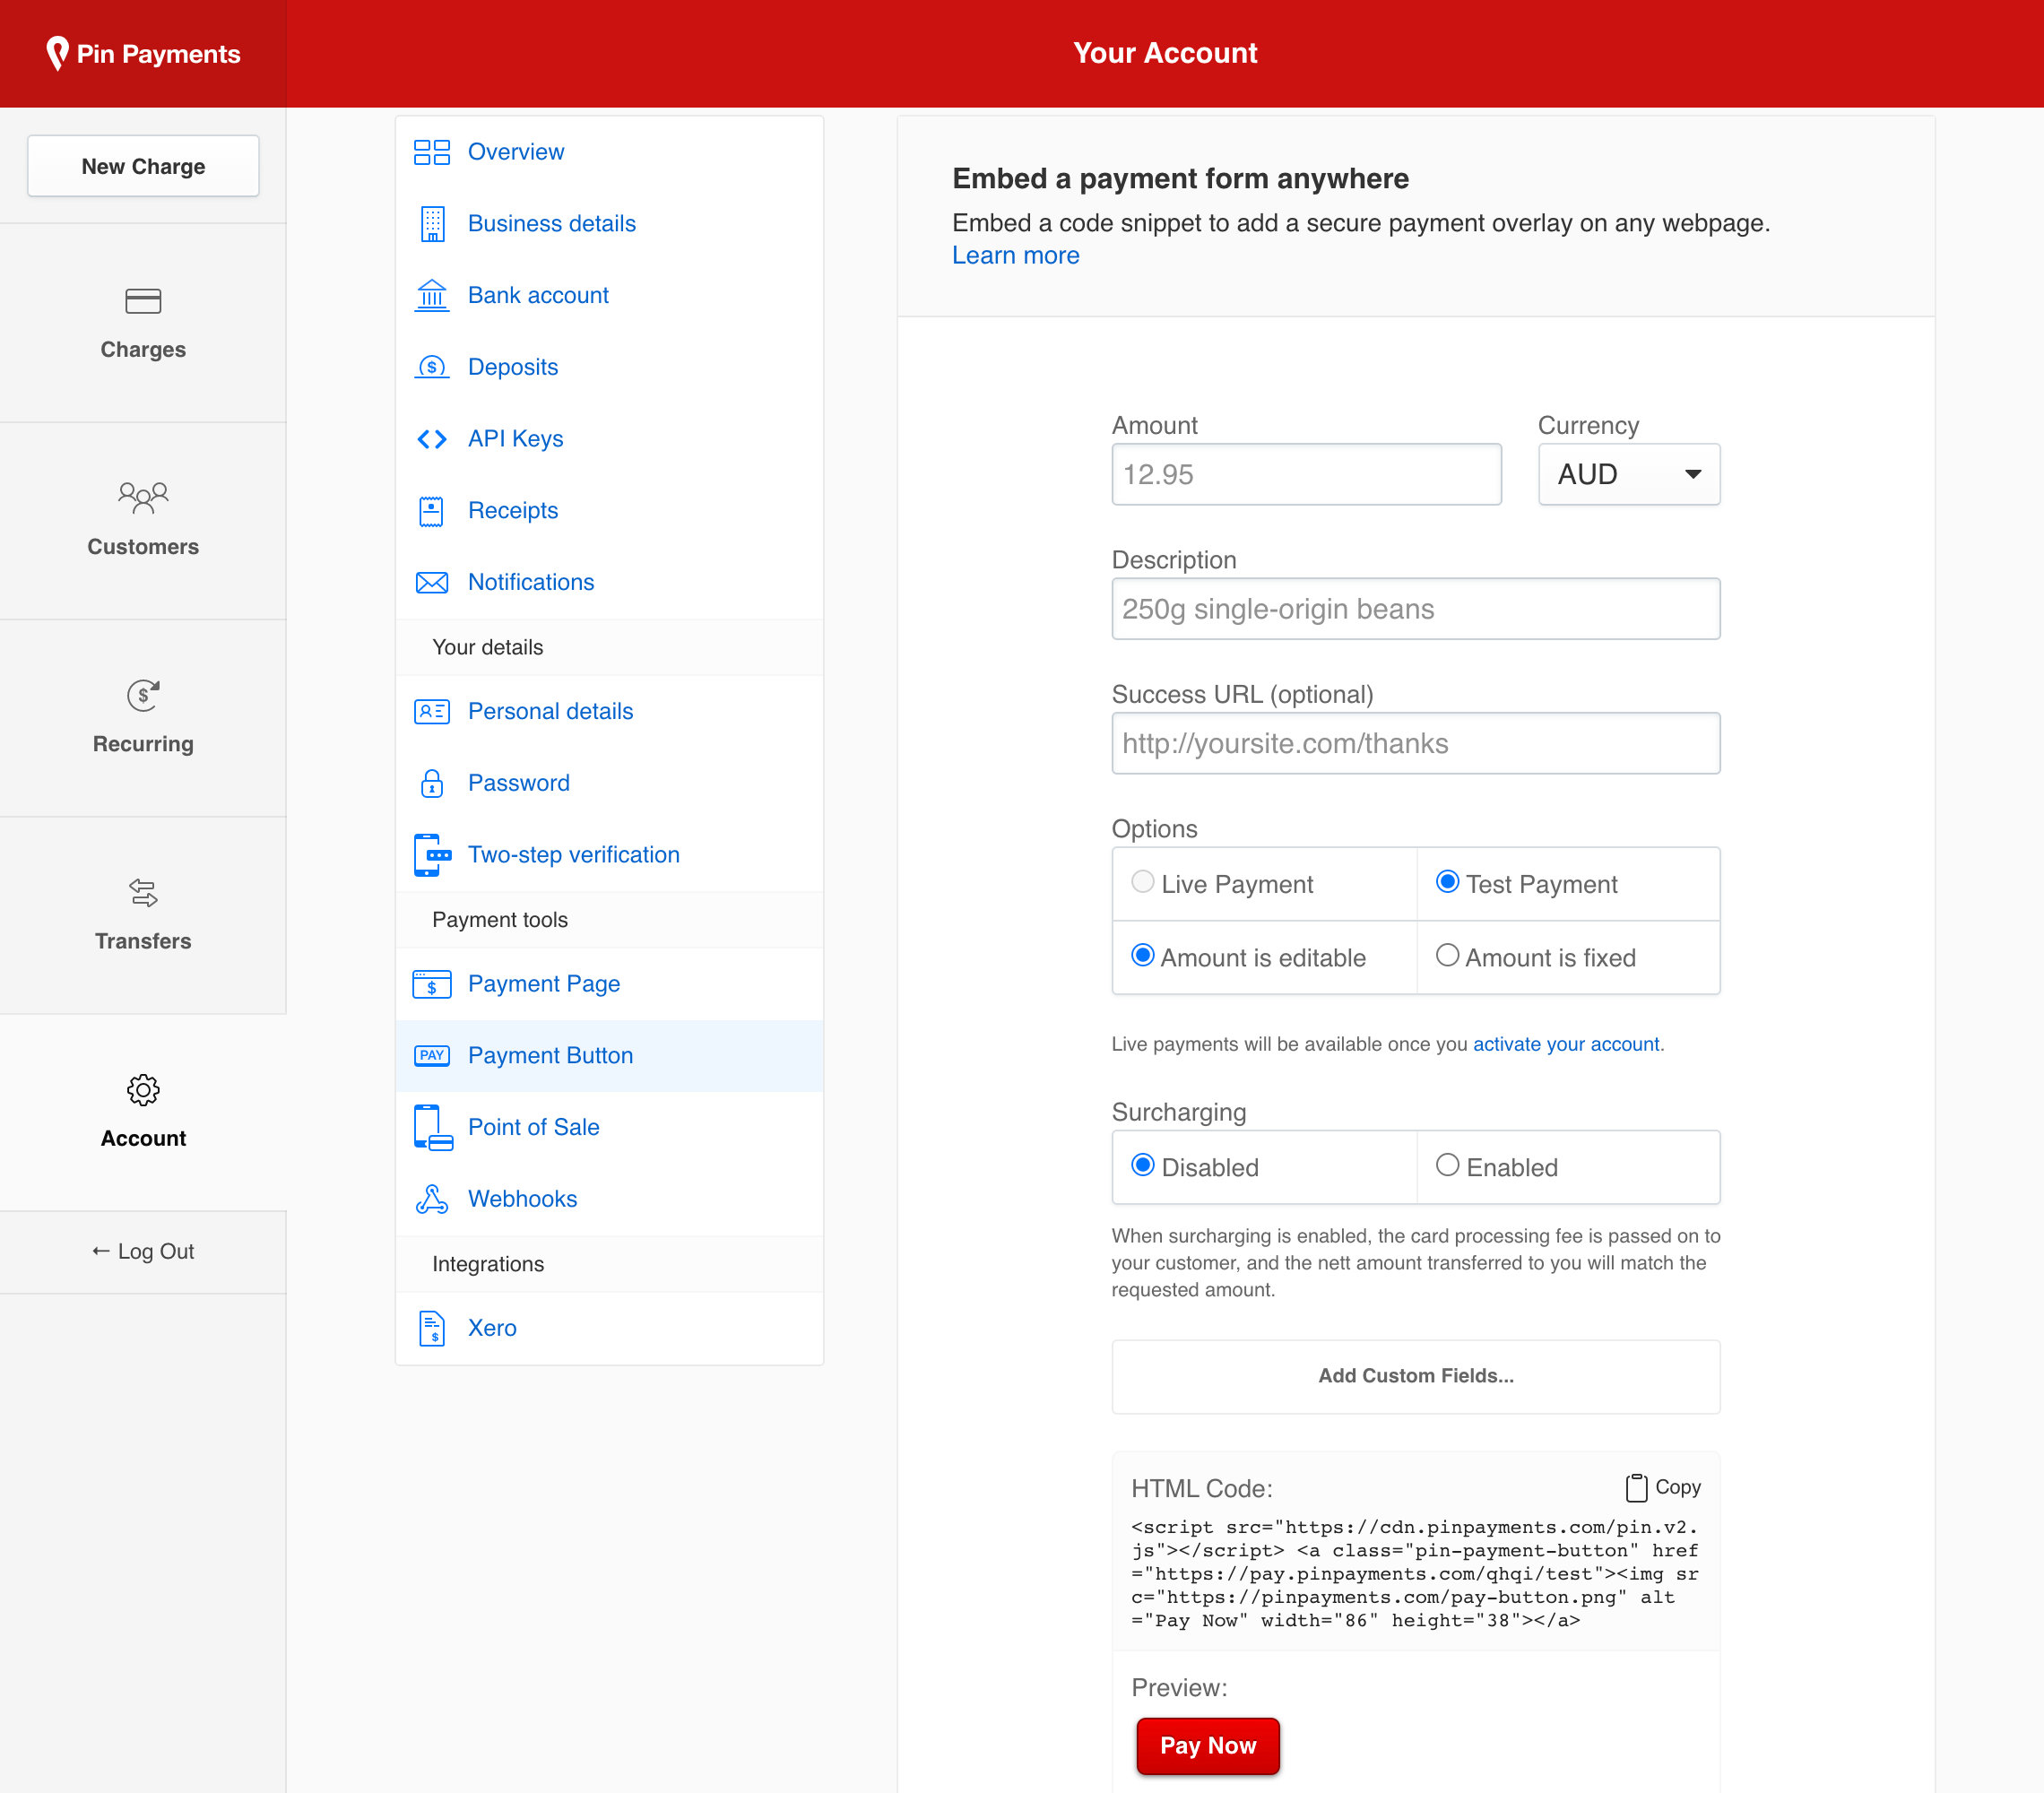
On this screen, find the section labeled ‘HTML Code’ and click ‘Copy’ to copy your Payment Button code—ready to embed on your webpage.
Preset and custom fields
Your Payment Button can be customised with additional parameters; including amount, currency, and description. This gives you a simple way to make different Payment Buttons to collect payment for specific items or services.
Standard fields
You can set any of these parameters from your Payment Button dashboard:
amountvalue to chargecurrencycurrency to chargedescriptiondescription for the chargesuccess_urlpage to redirect to after successful chargeamount_editableset to false to disable changes to the amount field
Custom fields
For more flexibility, you can specify up to three custom fields for your Payment Button. Custom field information is stored on the Charge metadata, and can be viewed on your dashboard.
field1labelthe label displayed for the first fieldfield1valuean optional default value for the first fieldfield2labelthe label displayed for the second fieldfield2valuean optional default value for the second fieldfield3labelthe label displayed for the third fieldfield3valuean optional default value for the third field
Each custom field requires a label; the value can be omitted for the customer to complete.
Customer parameters
If you have already collected information from the customer—such as their email or billing address—you can add the following parameters to the Payment Button code to prefill the respective fields, making the payment process even more seamless:
emailThe customer’s email addressaddress_line1The first line of the customer’s addressaddress_line2The second line of the customer’s addressaddress_cityThe customer’s cityaddress_stateThe customer’s stateaddress_postcodeThe customer’s postcodeaddress_countryThe customer’s country
Once you’ve configured the fields for your Payment Button, you can copy the HTML code and embed it on your webpage.
The following Payment Button code example requests a payment of $25.00 USD for “One-off donation” and then redirect the customer to a thank you page located at http://example.com/thanks.
<script src="https://cdn.pinpayments.com/pin.v2.js"></script>
<a class="pin-payment-button" href="https://pay.pinpayments.com/qkbo/test?amount=25.00&currency=USD&description=One-off+donation&success_url=http%3A%2F%2Fexample.com%2Fthanks"><img src="https://pinpayments.com/pay-button.png" alt="Pay Now" width="86" height="38"></a>Hint: Use the card number 4200 0000 0000 0000, or any of the test card numbers.
Customising the appearance
You can customise the appearance of your Payment Button by replacing the <img> tag inside of the link with anything you like.
For example, replacing the <img> tag with the words “Donate Now” turns the Payment Button into a simple text link:
<script src="https://cdn.pinpayments.com/pin.v2.js"></script>
<a class="pin-payment-button" href="https://pay.pinpayments.com/qkbo/test">Donate Now</a>
Hint: Use the card number 4200 0000 0000 0000, or any of the test card numbers.
If you customise your payment button, please ensure the following:
- The link (
<a>tag) must contain the classpin-payment-button - The Pin.js
<script>tag must be loaded on the page
Note for developers
You can add, remove, and modify Payment Button links and parameters dynamically using Javascript and it will work as expected. Pin.js adds a click event handler to the document element, and configures itself on each click event.
Configuring surcharging
When configuring your Payment Button code in your Pin Payments dashboard, you also have the option to enable surcharging and pass on the cost of processing the transaction to your customer:
<script src="https://cdn.pinpayments.com/pin.v2.js"></script>
<a class="pin-payment-button" href="https://pay.pinpayments.com/qkbo/sc/test"><img src="https://pinpayments.com/pay-button.png" alt="Pay Now" width="86" height="38"></a>
Hint: Use the card number 4200 0000 0000 0000, or any of the test card numbers.
This surcharge is calculated to exactly cover Pin Payments card processing fees for the transaction, ensuring you receive the full original amount requested when we settle the funds to your bank account.
As with the Payment Page, surcharging is enabled by adding /sc to your payment page link, immediately following your four character payment page path.
Configuring Apple Pay
You'll need to register each domain from which you embed your Payment button for Apple Pay enablement via the Apple Pay dashboard interface.
Test mode
The Payment Button has two modes of operation: test mode and live mode. Test mode allows you to test the purchase process with any of the documented test cards. Once you’re ready, simply remove the /test from the href inside the Payment Button code to use live mode.