Product Guides
Dashboard Charges
Your Pin Payments dashboard allows you to charge your customers’ payment cards, using your computer or smartphone.
In this guide
- Creating a Charge
- Optionally pass on card fees
- Processing an Authorisation
- Capturing an Authorisation
- Void an Authorisation
- Advanced payment options
Creating a Charge
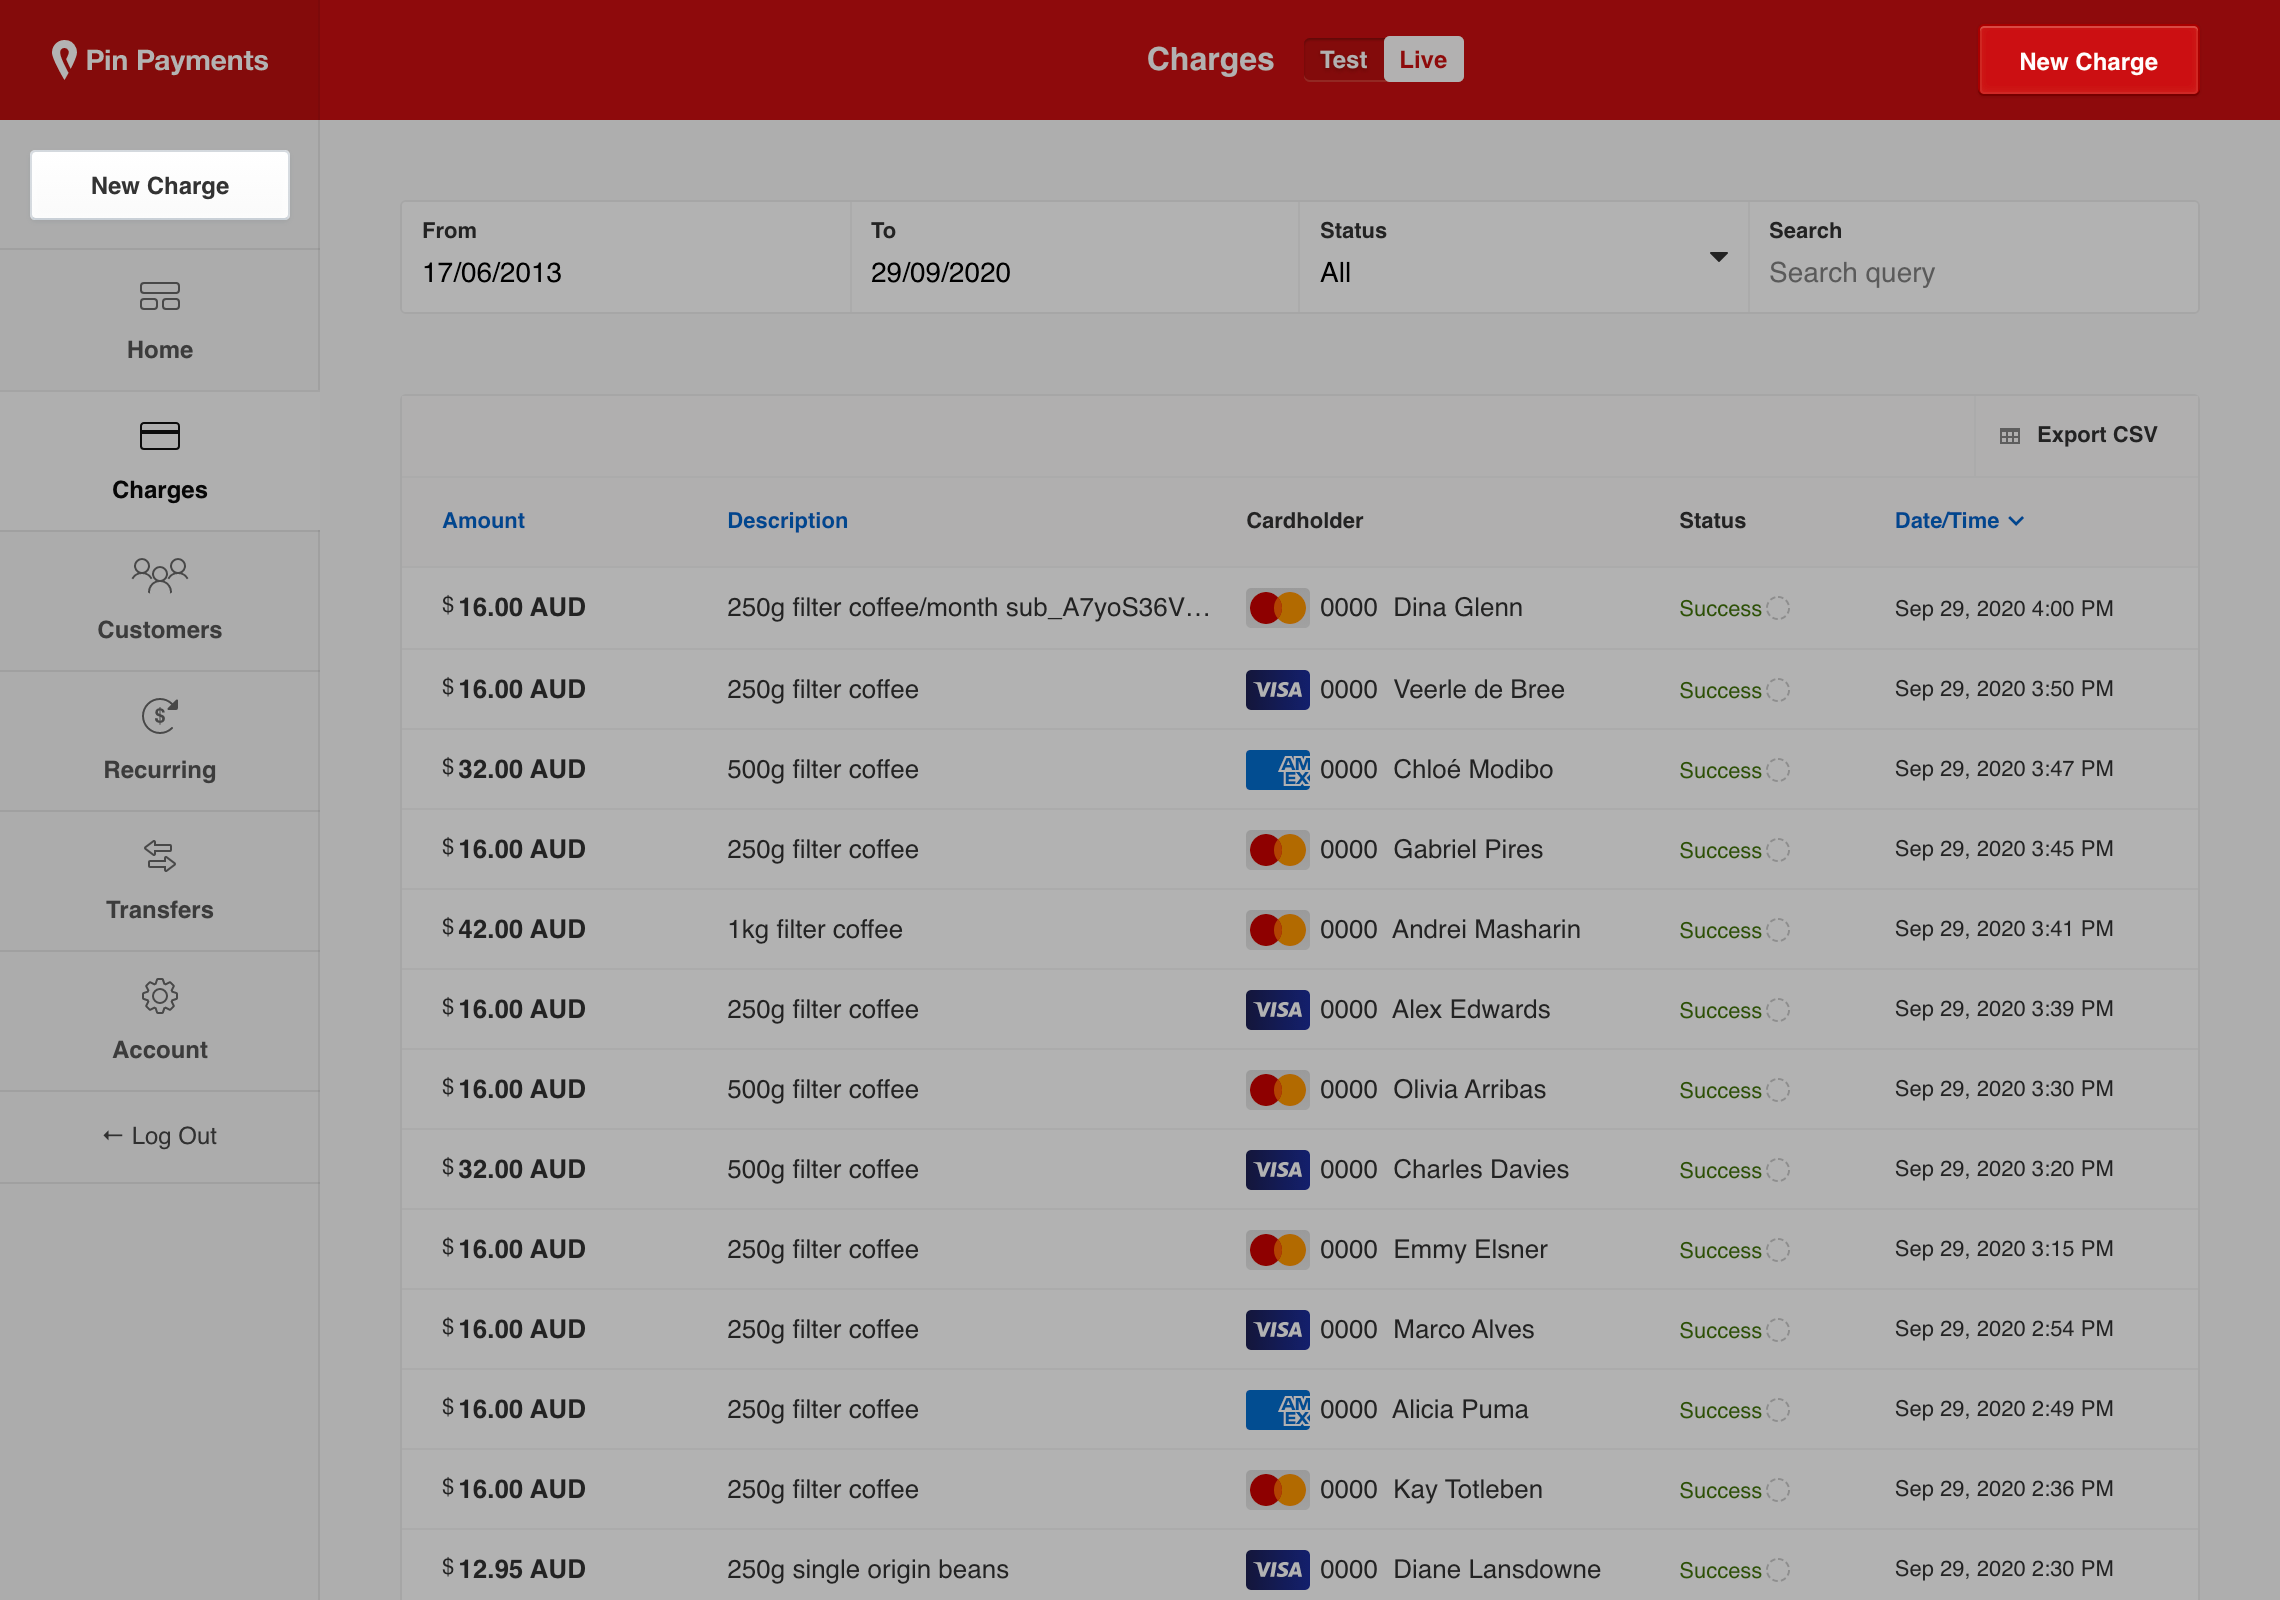
There are a couple of ways to create a new charge once you have signed in to your dashboard.
- The “New Charge” button is accessible from the left sidebar throughout the dashboard.
- If you are in the Charges area of your dashboard, the “New Charge” button is on the header in the top right.
Optionally pass on card fees
Pin Payments withholds the transaction fee from the amount charged. If you wish to receive the exact amount specified, you can choose to pass on the card processing fees to the customer by ticking “Apply Surcharge”: this will calculate the card processing fee and add it to the amount you requested.
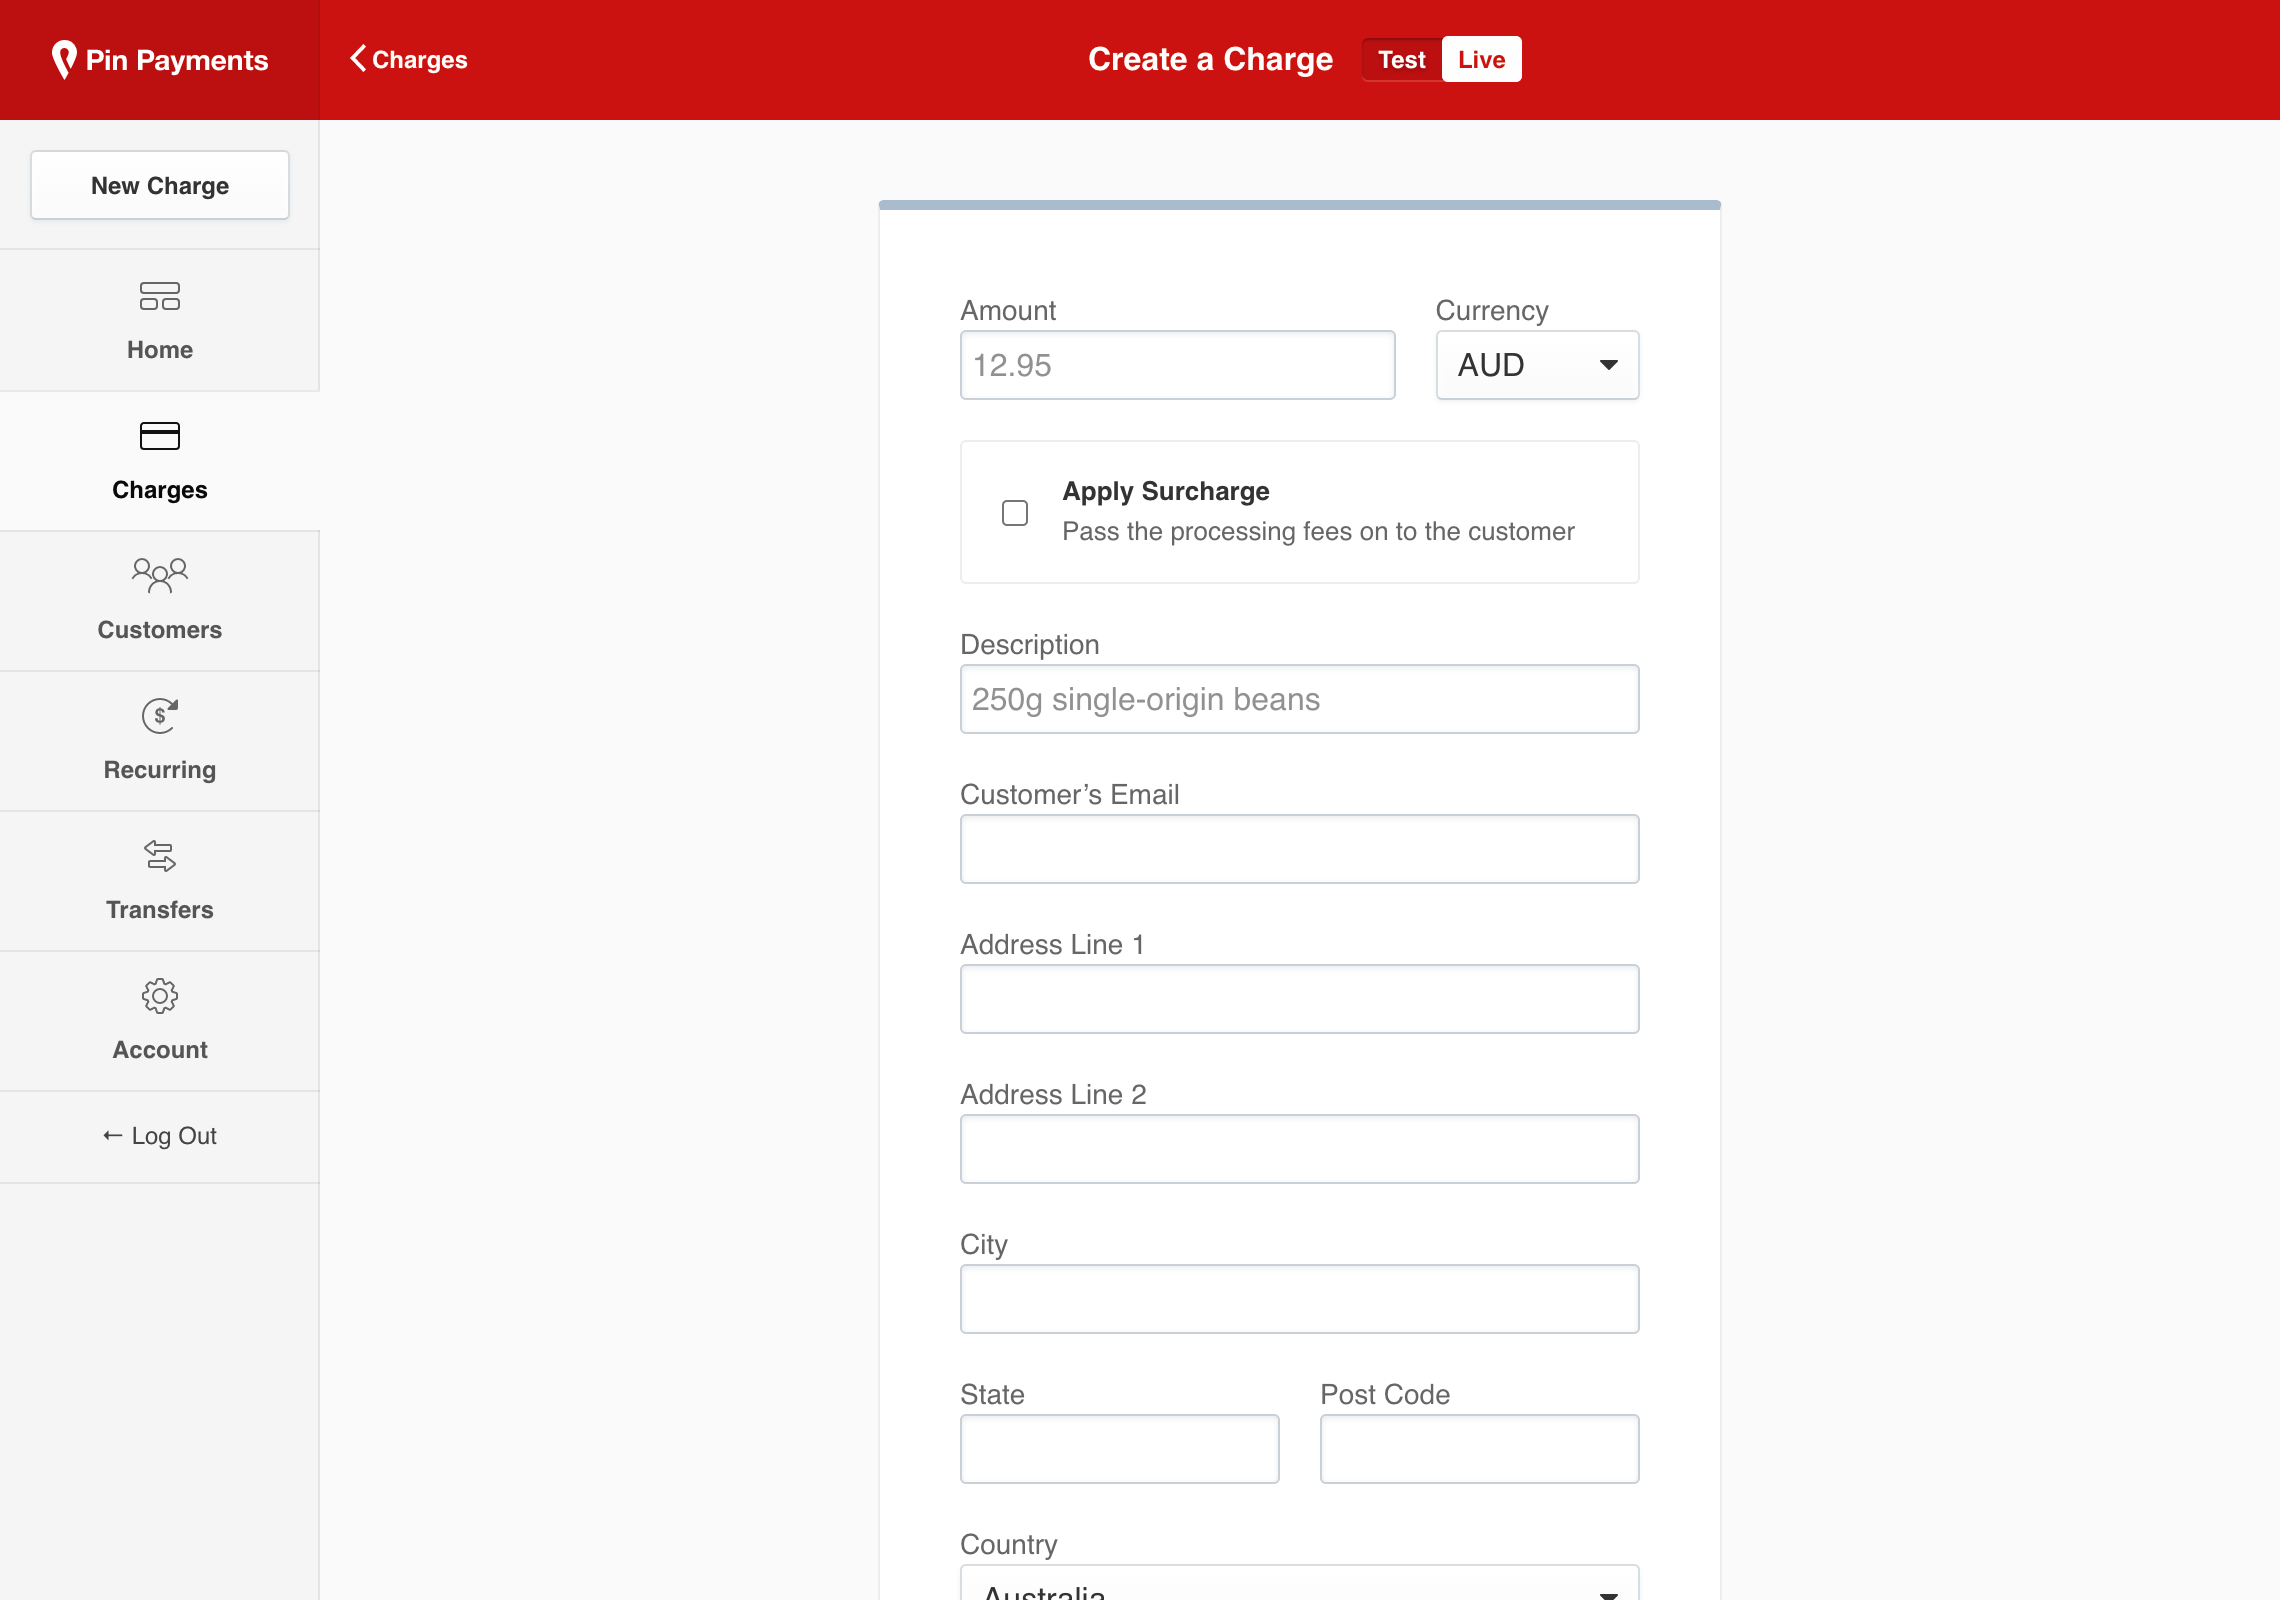
Complete the rest of the billing details on the Create a Charge form.
If you did not apply a surcharge, click “Create Charge” to process the transaction and immediately capture the funds from your customer’s payment card.
If you chose to apply a surcharge, click “Continue to Surcharge Confirmation”.
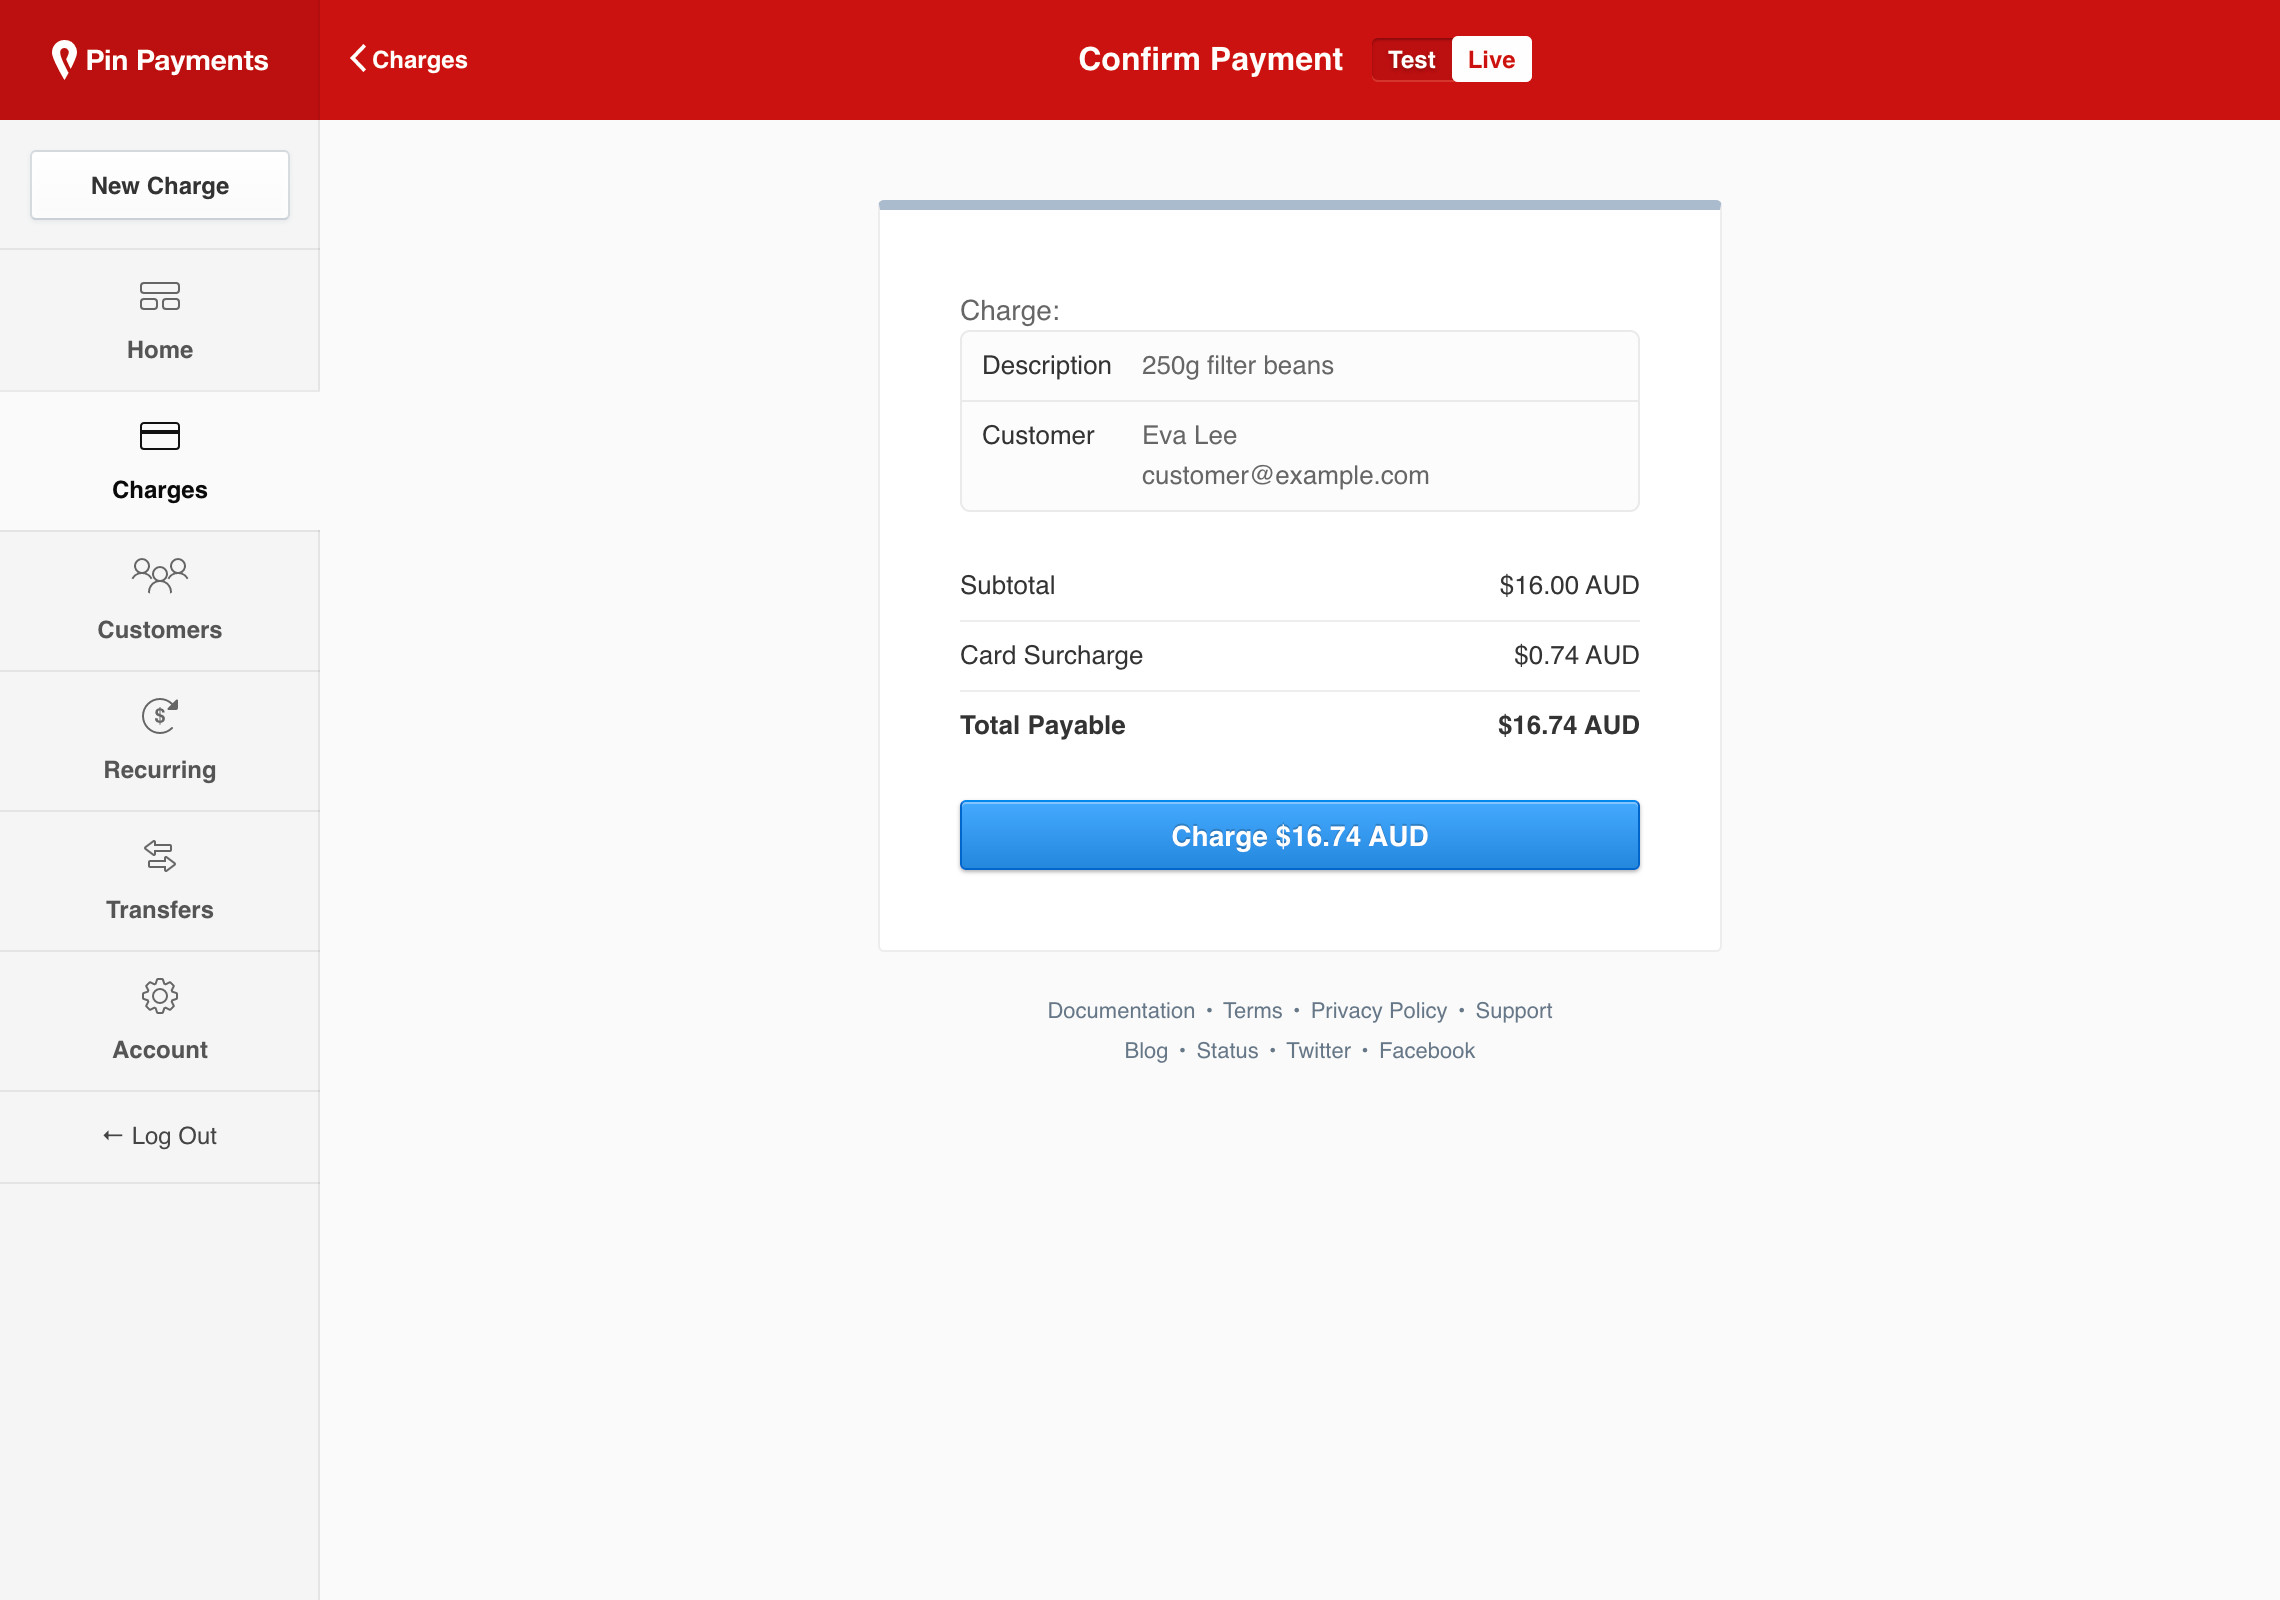
You will then be presented a confirmation screen presenting the calculated card surcharge fee and the total amount your customer will be charged. Confirm to process the transaction and immediately capture the funds from your customer’s payment card.
Processing an Authorisation
There may be occasions where you want to place a temporary hold of funds on your customer’s payment card, with the option to collect the funds later. This is referred to as an Authorisation.
Once you’ve entered the charge details, click “Show Advanced Options” and select “Authorise Only”.
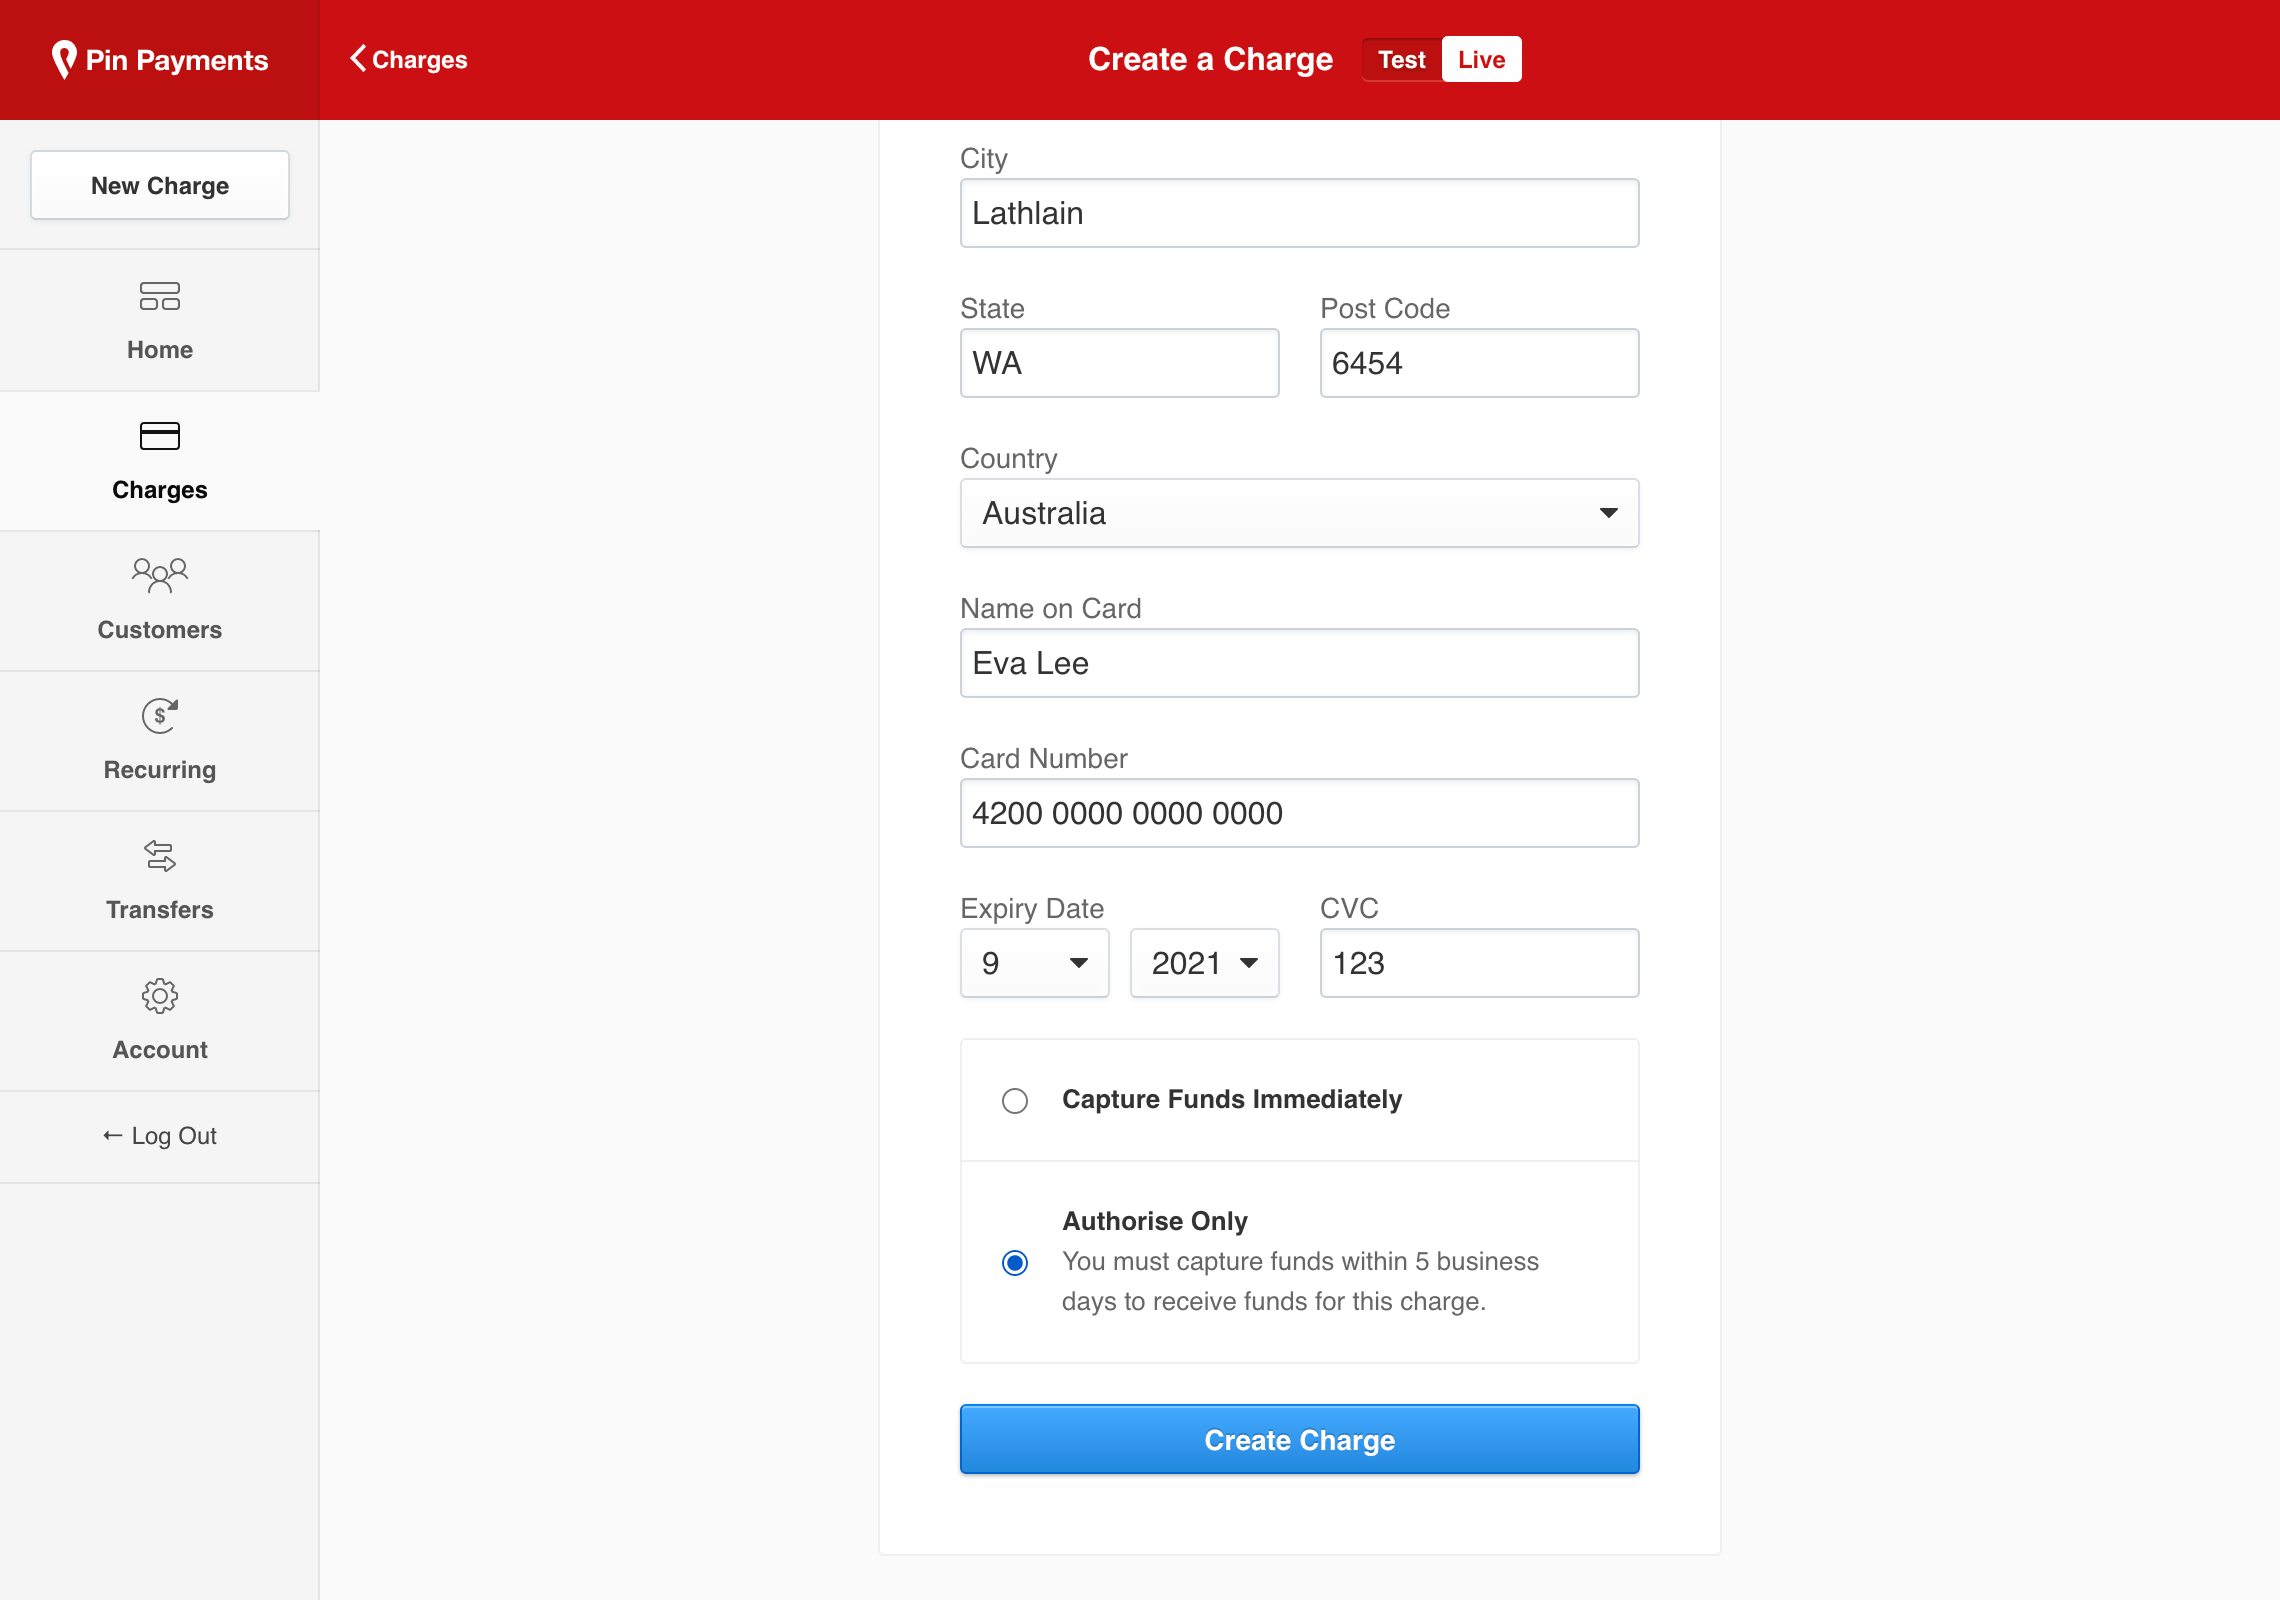
Once selected, click “Create Charge” to process an authorisation.
Capturing an Authorisation
Authorisations are a temporary hold of funds on the customer’s payment card. In order to receive funds, you need to capture the charge within 7 days. Authorisations that are not captured within this window are voided, and the funds are released back to the customer.
When viewing an authorisation charge, you will be prompted to capture the funds for the charge:
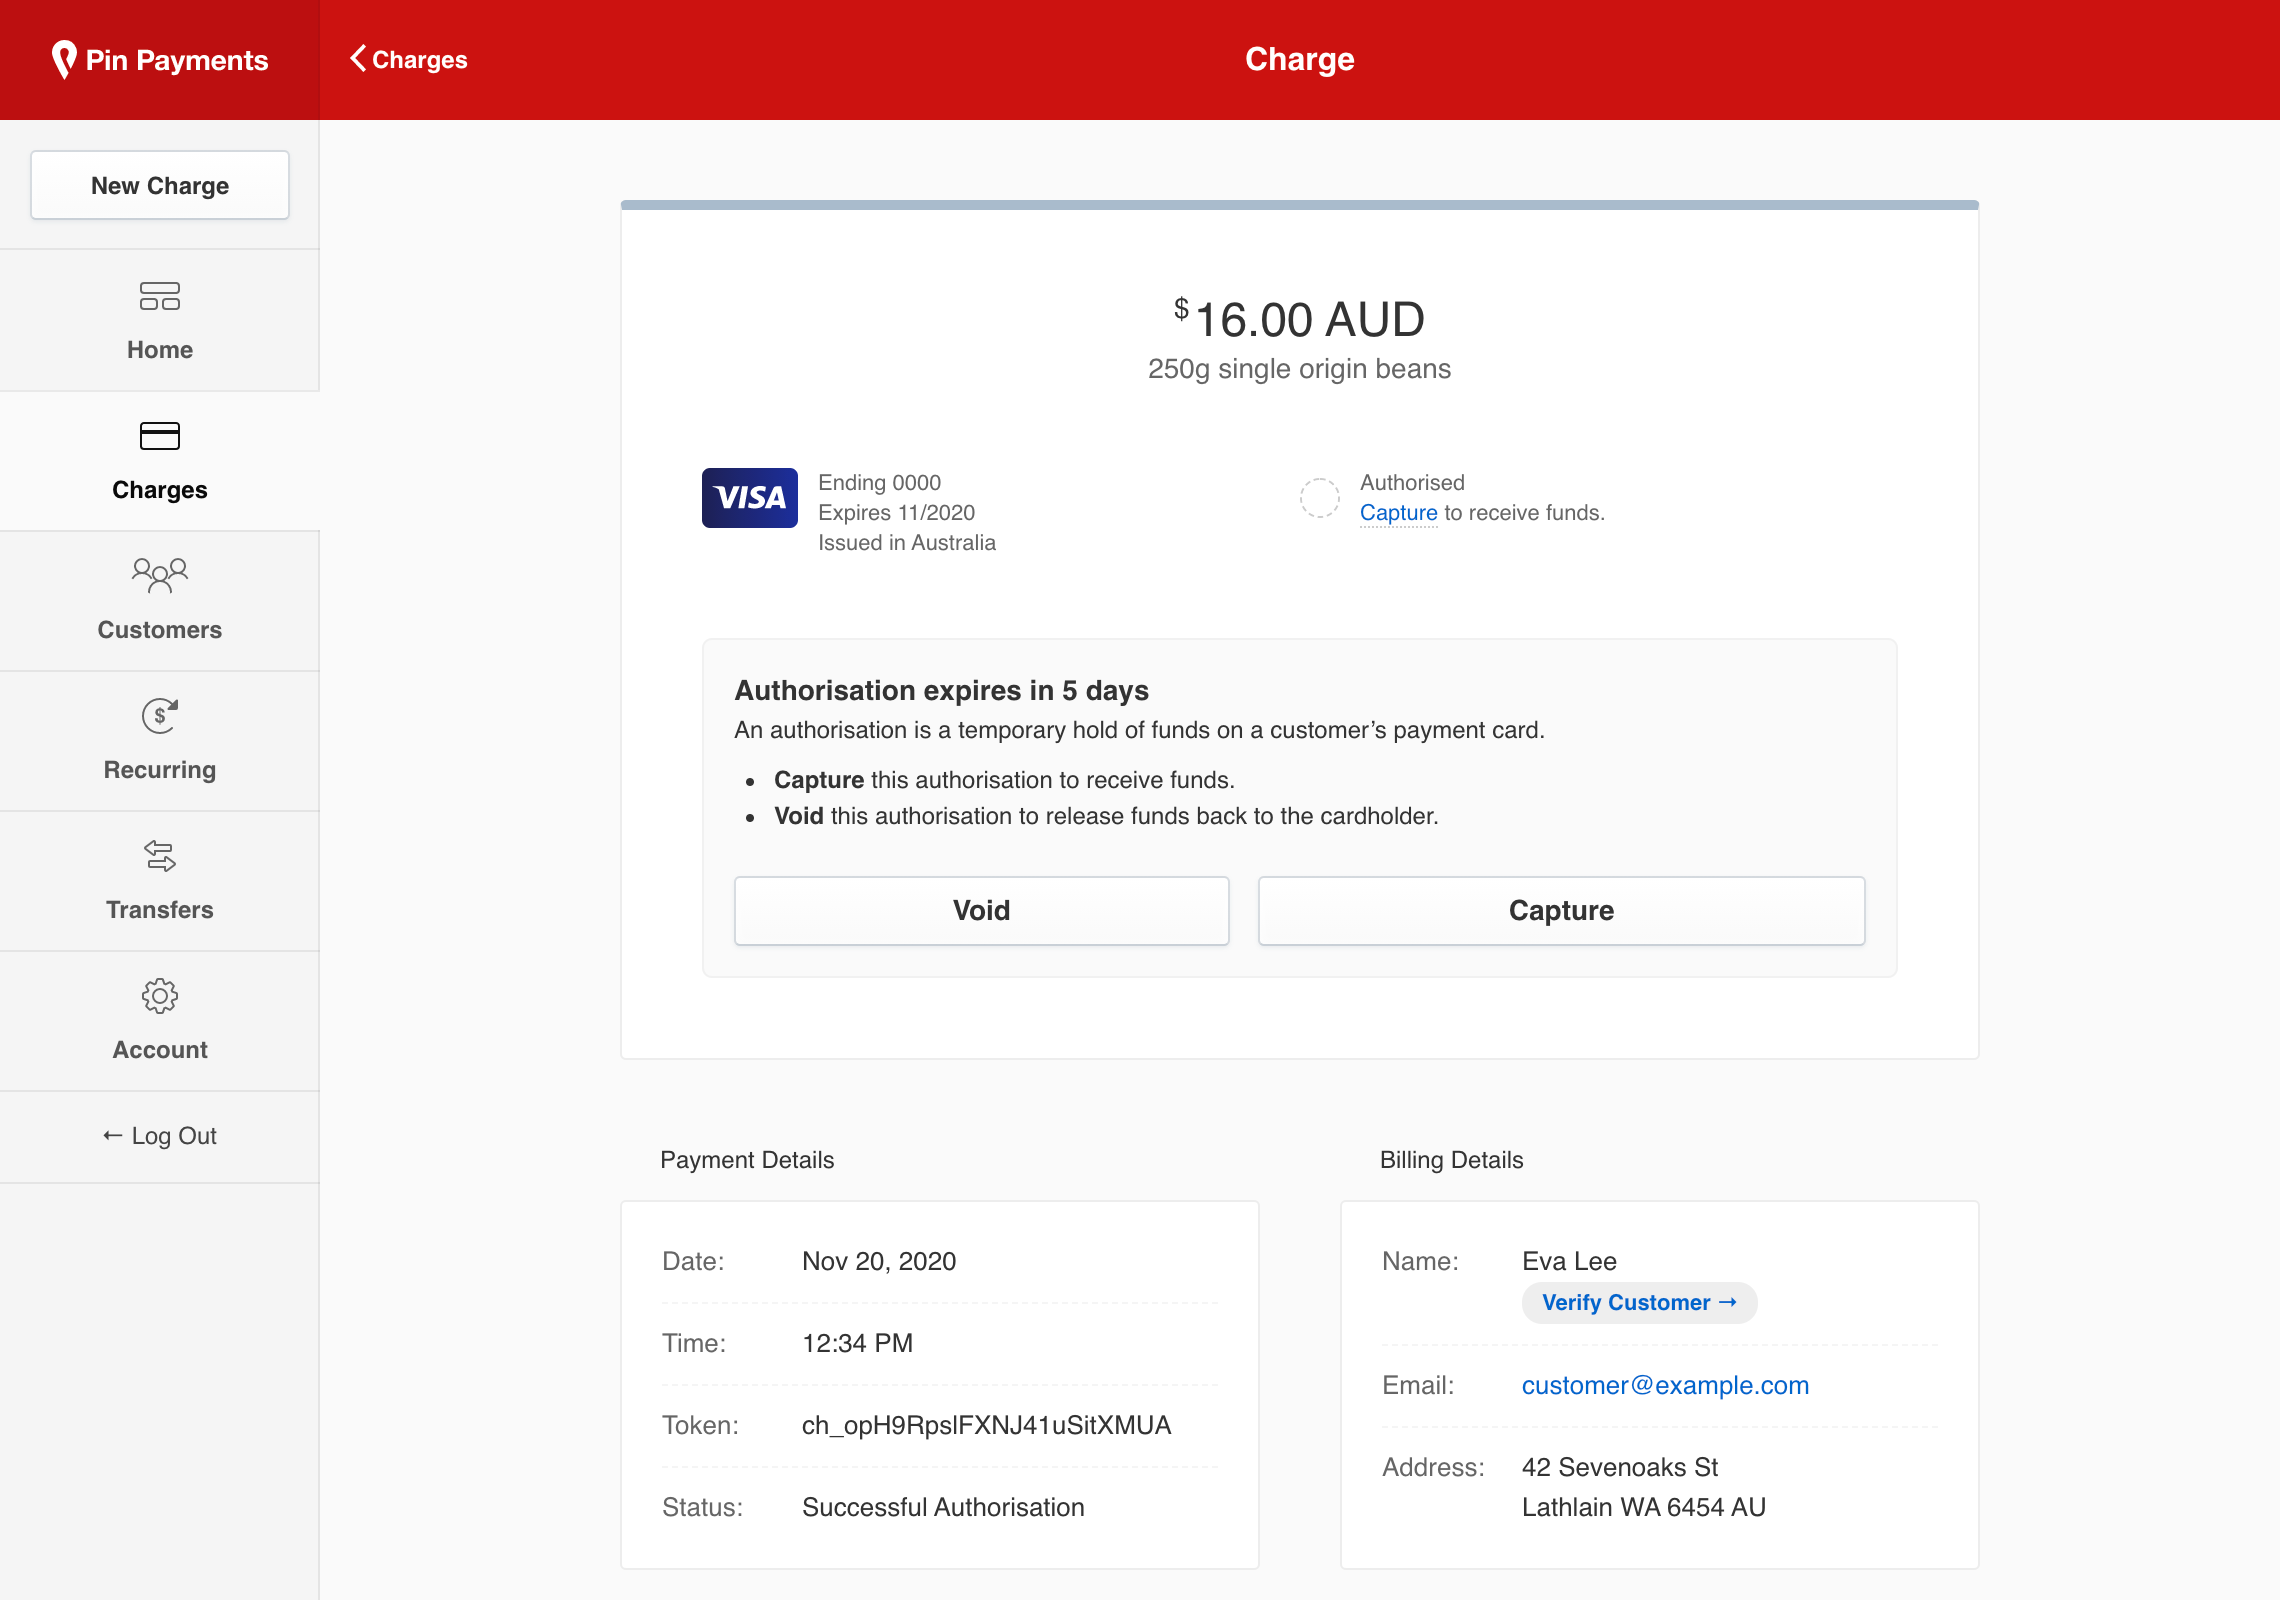
If the hold was temporary and you do not intend to collect the funds authorised, click “Void”.
If you wish to capture funds for the charge, click “Capture”.
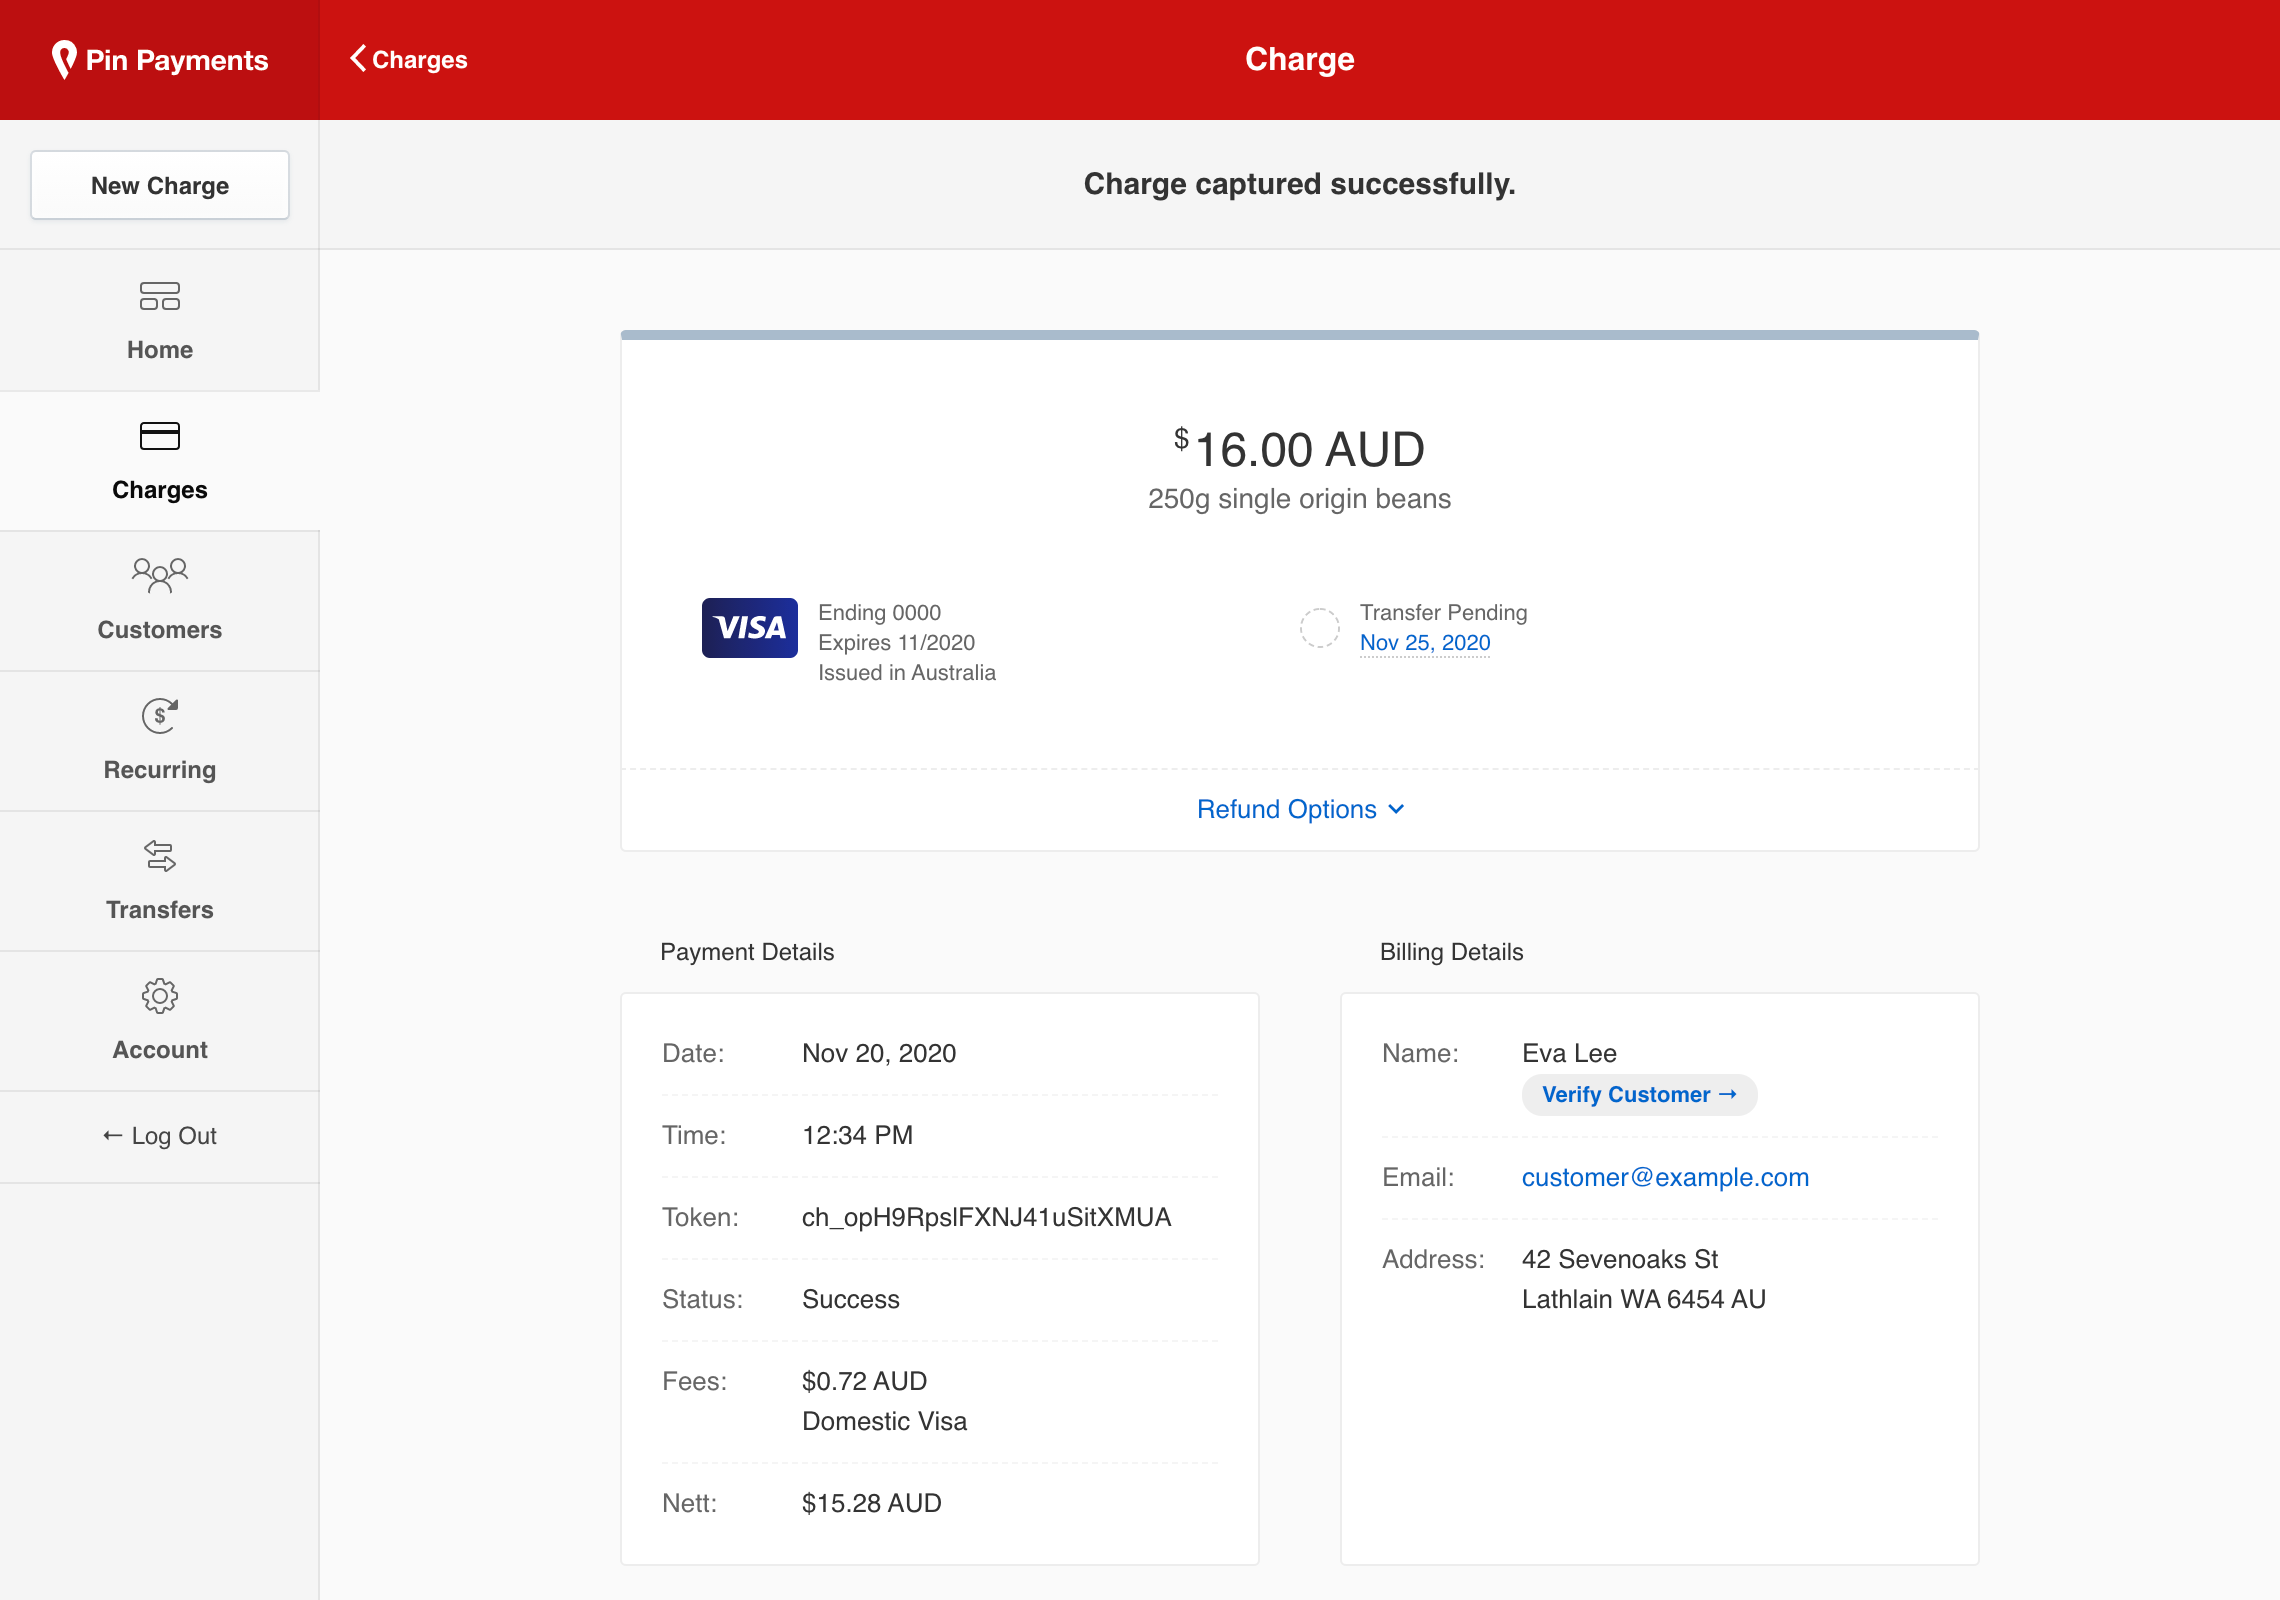
You will receive a message indicating the charge was captured successfully, and the funds will be transferred to you according to your settlement schedule.
Void an Authorisation
If you instead wish to release the funds held in an authorisation back to the customer, click “Void”.
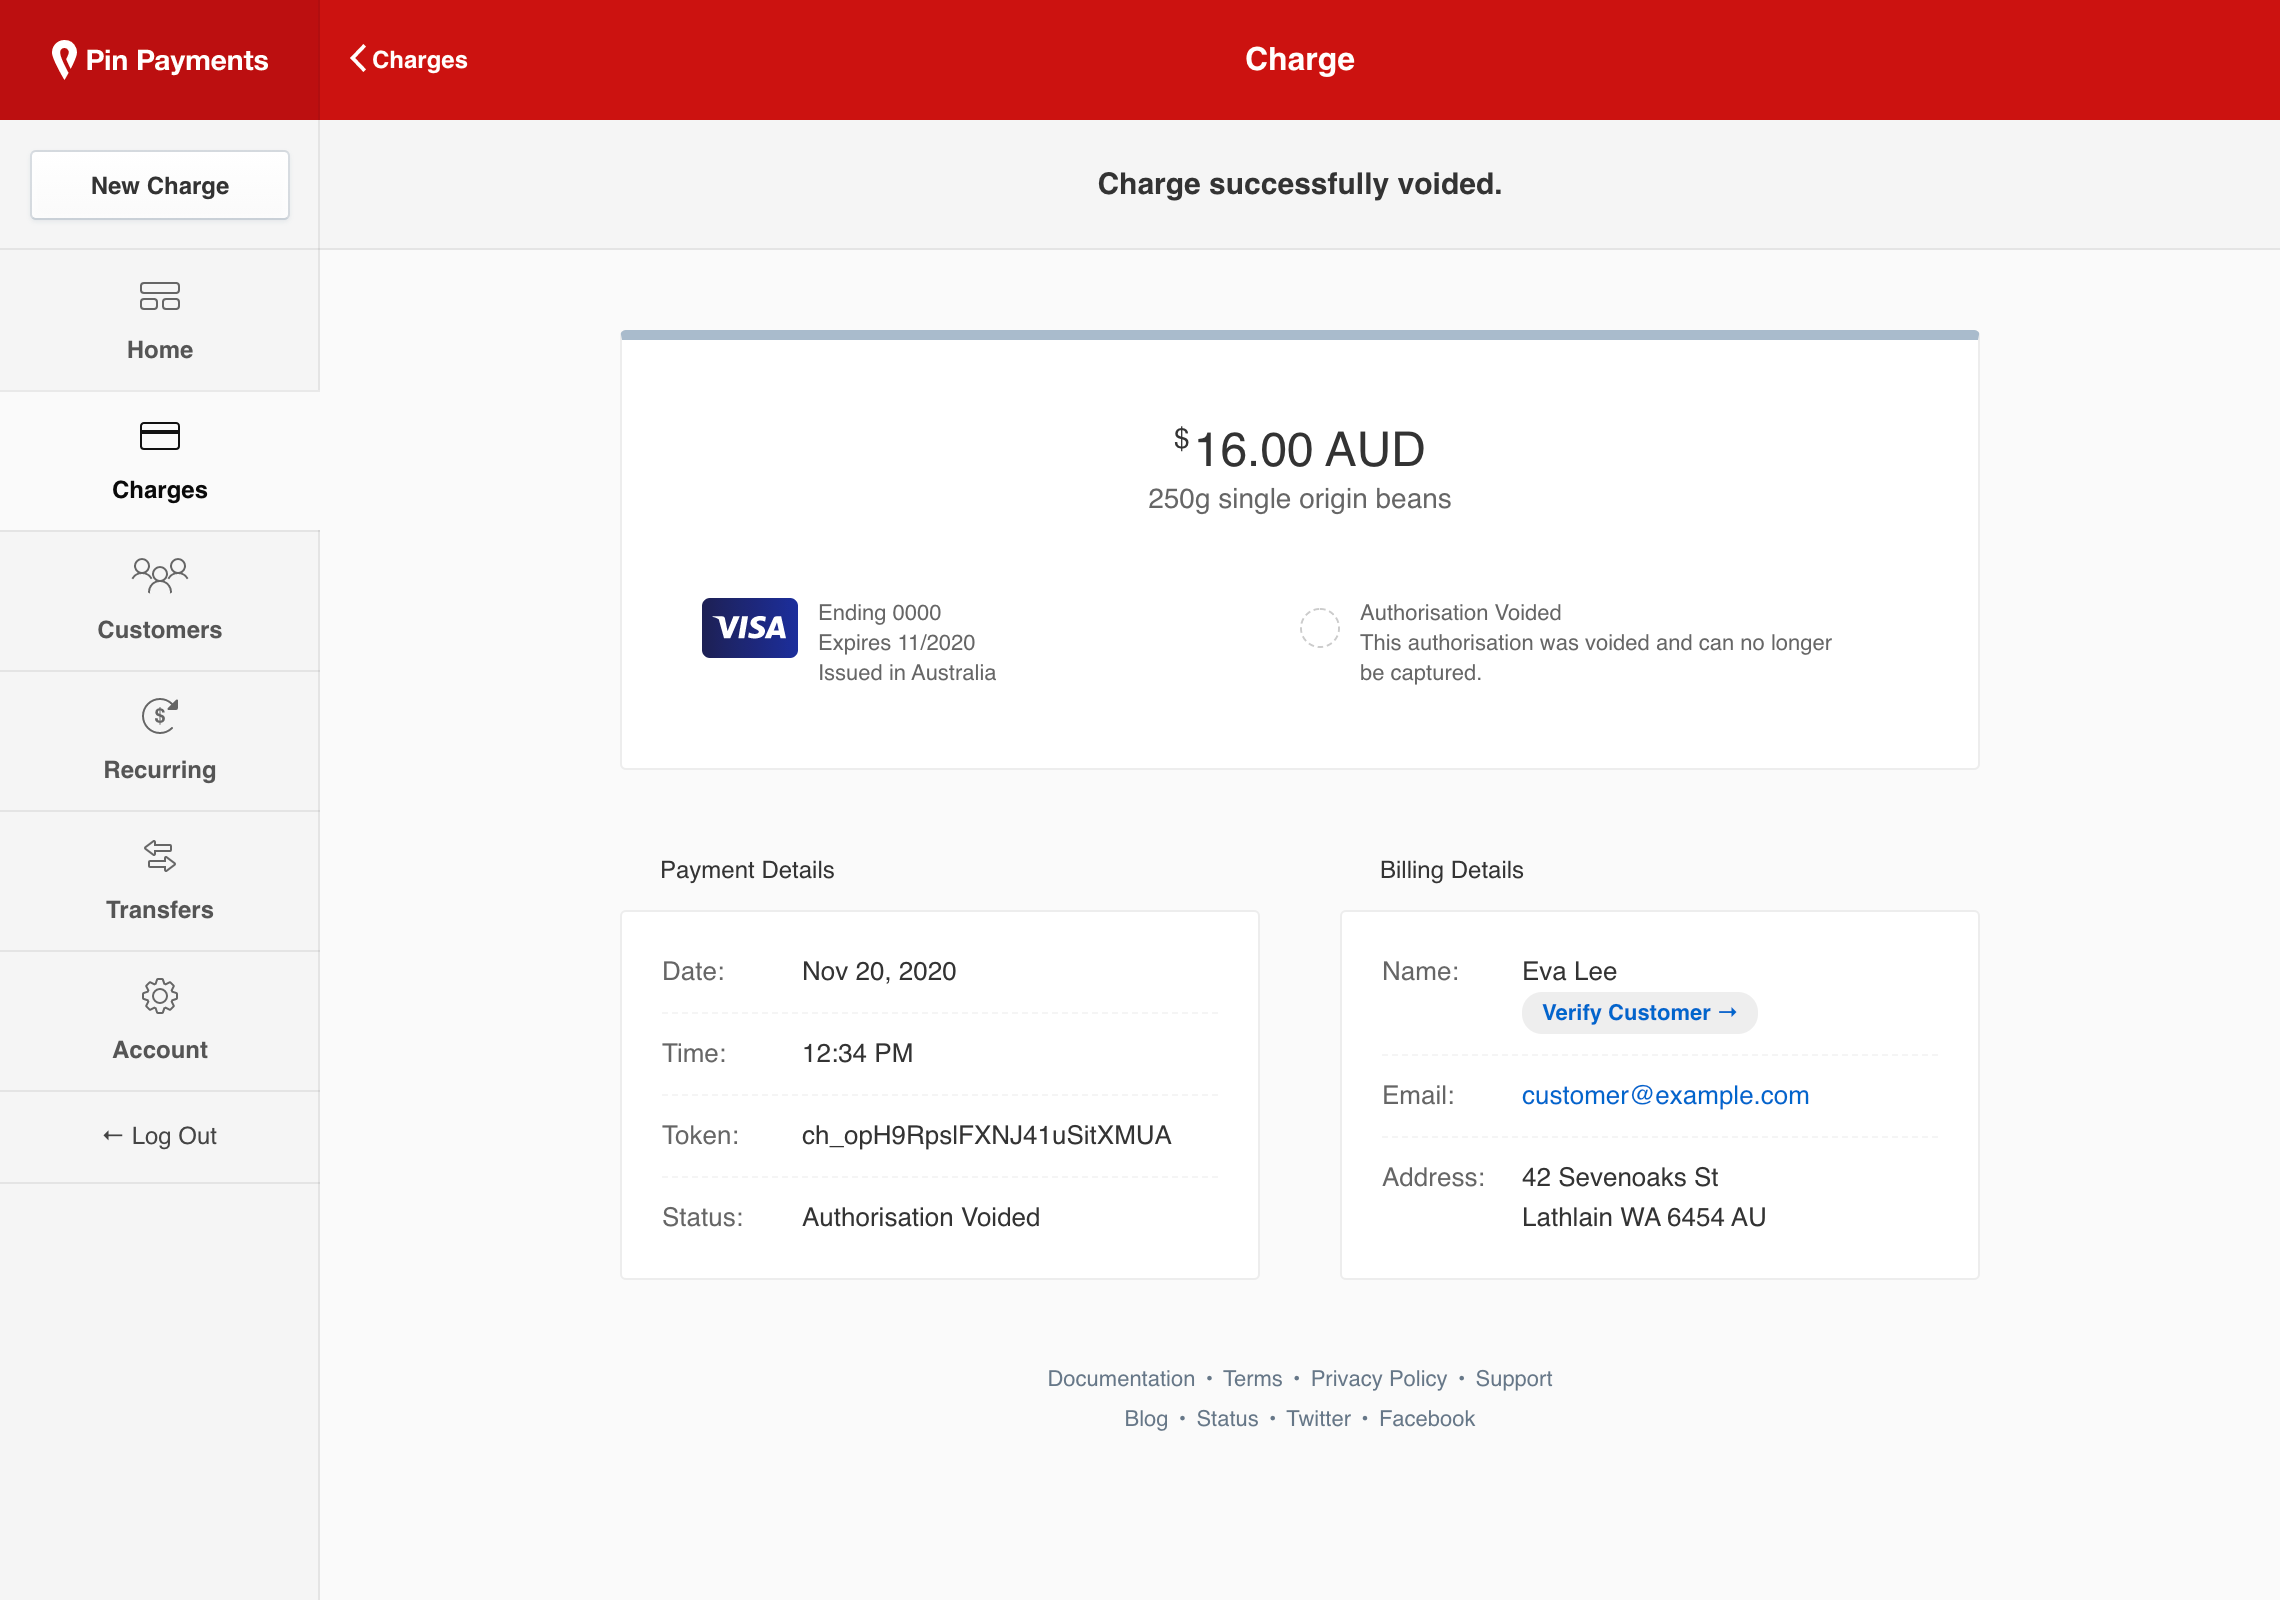
You will receive a message indicating the charge was successfully voided, and the funds will be returned to your customer.
Advanced payment options
Storing customer payment information
Charges in dashboard are intended for one-off transactions. If you plan on charging a customer again in the future, read our Customers Guide for instructions on securely storing customer payment details to use for subsequent charges.
Recurring Payments
For situations where you want to bill customers on a scheduled or recurring basis—such as every fortnight or month—refer to our Recurring Payments Guide for details on setting up recurring payment plans, and subscribing your customers to those plans.